How to Prepare an STL, OBJ, or 3MF File for 3D Printing
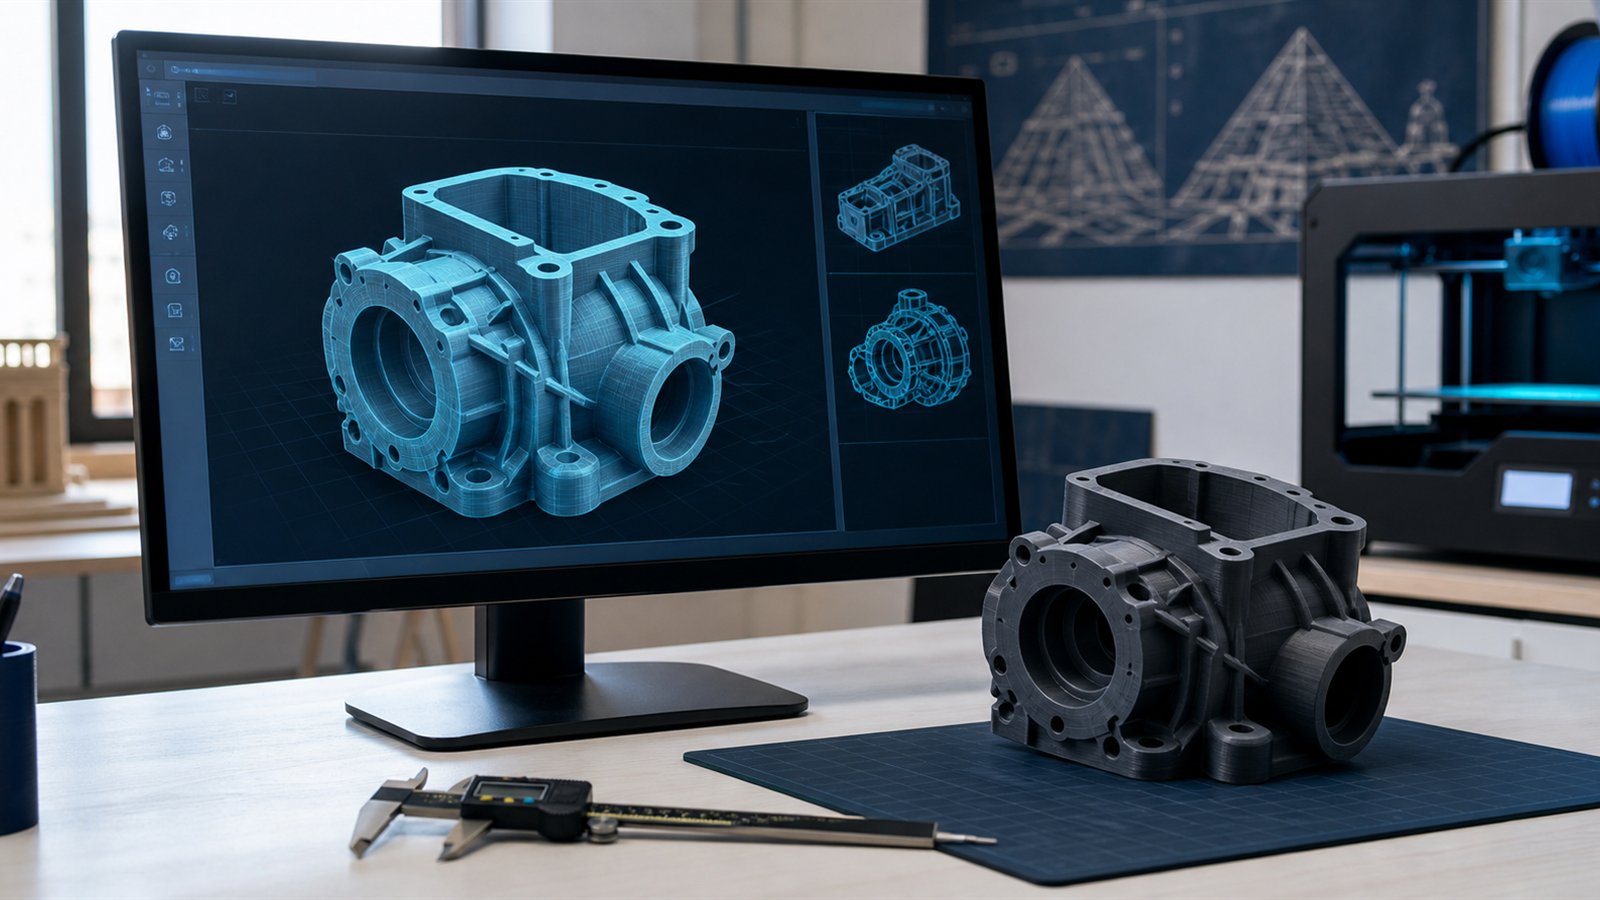
Short answer: before uploading an STL, OBJ, or 3MF file, confirm the intended dimensions, make the geometry closed and printable, check thin walls and clearances, remove unintended bodies, and explain the part’s function. These checks reduce scale errors, failed analysis, and avoidable production questions.
Which file format should you use?
STL
STL represents the surface of a model as triangles. It is widely supported and useful for many single-material parts, but it does not standardise colour or texture information. Scale can also become ambiguous between different export and import workflows, so always verify the displayed dimensions.
OBJ
OBJ can carry additional model information depending on how it is exported. For 3D printing, the essential requirement is still clean, closed geometry at the correct scale. Do not assume that visual materials in a design application automatically become manufacturing choices.
3MF
3MF was designed for additive-manufacturing workflows and can include defined units and richer manufacturing metadata. It can reduce some common interchange problems, although the receiving service and software must still support the relevant features.
Tashkeel currently accepts STL, OBJ, and 3MF model uploads. Select the format that exports reliably from your design software, then inspect the uploaded result.
File-preparation checklist
1. Confirm units and overall dimensions
Open the exported file or use the upload viewer to confirm its dimensions in millimetres. A model intended to be 100 mm long must not arrive as 100 inches, 100 centimetres, or 1 mm. Include at least one reference dimension in your notes when fit matters.
2. Make the mesh closed
A printable solid should have a continuous outer boundary. Open edges, holes, reversed faces, non-manifold geometry, and intersecting shells can produce ambiguous layers. Use your CAD or mesh-repair tool to inspect and repair the model before upload.
3. Remove duplicate and hidden geometry
Internal surfaces, duplicated bodies, construction geometry, and accidental copies may increase file complexity or produce an unexpected volume. Keep only the geometry intended for manufacturing.
4. Check wall thickness and small features
A feature visible on screen may still be too thin to manufacture reliably. There is no universal minimum that works for every material, orientation, and feature. Review walls, pins, clips, embossed text, holes, and sharp tips against the intended process and use.
5. Allow realistic clearances
Parts that slide, rotate, snap together, or fit around existing hardware need clearance. A zero-gap CAD assembly is not automatically a working printed assembly. State which surfaces must fit and whether the goal is a loose, sliding, press, or permanent fit.
6. Separate bodies intentionally
If several components should be manufactured separately, export or label them clearly. Remove accidental floating fragments. If the file represents an assembly, explain which parts move and which parts should be joined after printing.
7. Review load direction and orientation
FDM parts are built in layers, so geometry and print orientation can influence appearance, support marks, accuracy, and mechanical behaviour. Explain the expected load direction and the most important visible or mating surface.
8. State the real use environment
Include relevant heat, sunlight, humidity, chemicals, impact, load, and safety requirements. A decorative desk model and a bracket near a motor should not be evaluated in the same way.
9. Inspect the uploaded preview
After upload, rotate the model and verify the dimensions and calculated geometry. Stop if the preview is empty, distorted, unexpectedly tiny, or much larger than intended.
Common mistakes to avoid
- Exporting without checking units.
- Using a low-resolution mesh that makes curves visibly faceted.
- Leaving holes, overlapping surfaces, or internal duplicates.
- Designing zero clearance between moving or mating parts.
- Assuming colour information in the file replaces the material and colour selected in the order.
- Uploading printer-specific G-code instead of the original model.
- Omitting the intended use of a functional part.
Upload your model
When the checklist is complete, upload your STL, OBJ, or 3MF file to Tashkeel, inspect the model, and configure the active material and print options. For the next step, read what determines 3D printing cost.
Frequently asked questions
Which model formats does Tashkeel accept?
The current upload flow supports STL, OBJ, and 3MF files.
Why did my STL upload at the wrong size?
STL workflows can interpret coordinate units differently. Confirm the export unit and check the displayed millimetre dimensions after upload.
What does “watertight” mean?
It means the mesh describes a closed boundary without open holes or ambiguous edges, allowing software to distinguish the inside from the outside.
Can a broken STL file be printed?
Some mesh errors can be repaired, but repair can also change geometry. Correcting the source model and verifying the result is safer than assuming an automatic repair is accurate.
Should I upload G-code?
No. Upload the original supported model format so the service can analyse and prepare it for the appropriate manufacturing workflow.